
How to Set Up Acoustic Panels in Karaoke Rooms
Best Panel Types and Where to Place Them
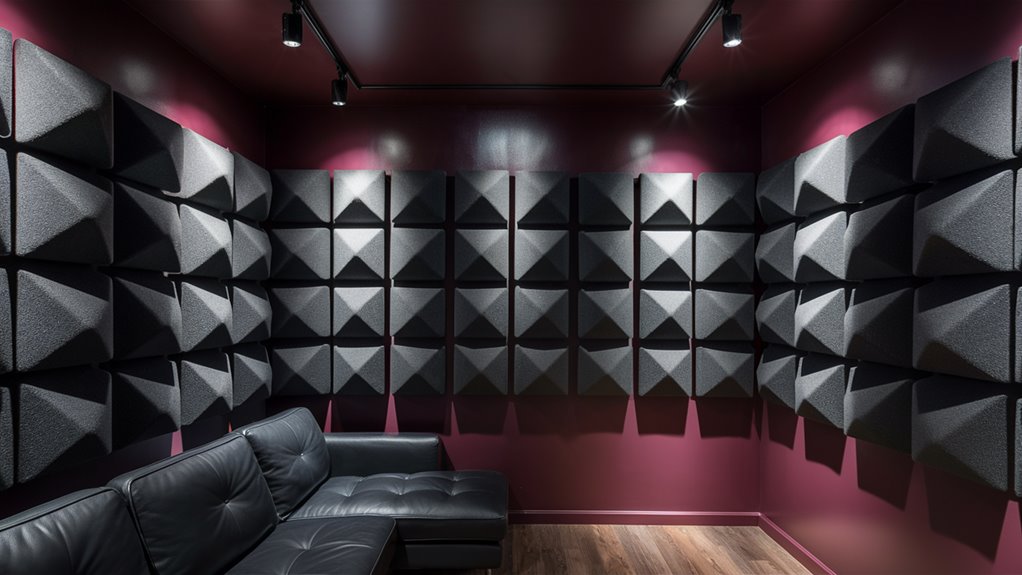
To achieve optimal sound in karaoke rooms, it is crucial to place acoustic panels strategically and select appropriate panel types. Panels designed for frequencies of 500Hz to 2kHz and with NRC ratings from 0.75 to 0.95 are next singing session recommended for clear audio. Panels should be 2 to 4 inches thick to effectively absorb sound.
How Much to Use and How to Put Them Up
Covering 20-25% of the wall area with panels is ideal. Install them at first reflection points, and mount them 3 to 5 feet above the floor. In a 12’x15′ karaoke room, around 86-108 square feet of panels are needed. Use strong Z-clips or durable adhesive to secure the panels.
Keeping Them Working Well
Regular checks and cleaning of the panels are essential for maintenance. Maintain humidity levels at 30-50% to preserve the panels’ condition. Frequent sound evaluations ensure the room’s sound quality remains optimal for singing.
What Makes Good Acoustics
Factors affecting sound quality include:
- Density and weight of the panels
- Room dimensions and wall materials
- Sound reflection off surfaces
- Panel placement
- Mounting height
- Material sound absorption efficiency
Acoustic Panel Basics
How Panels Manage Sound
Acoustic panels manage sound through porous, membrane, and resonant absorption methods.
When sound waves impact the panels, specific materials transform sound energy into slight heat due to friction.
Panel Performance Details
Effective acoustic panels are typically 2 to 4 inches thick with a Noise Reduction Coefficient (NRC) ranging from 0.75 to 0.95.
The optimal panel density is 48 kg/m³, suitable for mid-frequency sounds.
For karaoke rooms, panels encompassing 125 Hz to 4000 Hz enhance voice clarity.
Putting Them Up Right
The distance between the wall and panels significantly impacts sound. A 2-inch gap improves low-frequency absorption by 30%.
Accurate RT60 measurements (reverberation time) guide the quantity and positioning of panels for optimal sound quality. This precision ensures excellent karaoke room acoustics.
Different Sound Soaking Materials
Types of Sound Soaking Stuff
Main Sound Soakers
Sound absorption materials are essential for effective acoustics, encompassing four main types: porous absorbers, membrane absorbers, Helmholtz resonators, and diffusive panels.
Each type uniquely manages room acoustics.
Porous Soakers
Porous materials like foam and mineral wool convert sound to heat through friction.
They effectively absorb sounds above 500 Hz, capturing 70-90% of the sound.
The materials’ fibers create paths that trap and dissipate sound energy.
Membrane Soakers
Membrane absorbers target low-frequency sounds from 50-500 Hz.
They use vibrating non-porous sheets for sound control, with effectiveness heavily reliant on the space behind them.
Correct spacing allows efficient absorption of difficult low-frequency sounds.
Helmholtz Resonators
Helmholtz systems utilize precisely constructed air cavities to absorb particular frequencies.
These specialized devices absorb 90-100% of specific sounds, ideal for challenging sound scenarios in rooms.
Spreading Sound Right
Acoustic diffusers complement absorbers by evenly dispersing sound throughout a space.
While they don’t absorb sound, they help manage echoes by ensuring even sound distribution.
Where to Put Acoustic Panels Smartly
Finding Sound Bounce Spots
Strategic panel placement involves identifying sound reflection points.
By assessing the 45-degree angle path from speakers to walls, essential reflection spots for optimal sound treatment are identified.
Key Wall Plans
Early reflection points on side walls are targeted with panels mounted 3-5 feet from the floor.
Effective sound setup covers 15-20% of the wall area with absorbers.
The ceiling setup involves a checkerboard pattern covering 30-40%, centering over the singing area.
Handling Bass and Corners
Bass traps are essential in corners, extending from floor to ceiling for managing low frequencies.
The back wall setup requires 20-25% coverage in non-uniform patterns to mitigate standing waves.
Maintaining a 2-inch gap behind panels boosts low-frequency absorption by 30%.
Pro Install Tips
Hanging panels effectively involves:
- Side walls: Focus on early reflection points
- Ceiling panels: Utilize a checkerboard configuration
- Corner treatment: Implement full-height bass traps
- Back wall: Use irregular placement
- Panel gap: Ensure at least 2 inches for optimal results
These acoustic management techniques keep karaoke audio crisp and impactful.
Hanging and Setup Ways
Pro Tips for Hanging Acoustic Panels
Necessary Tools and Methods
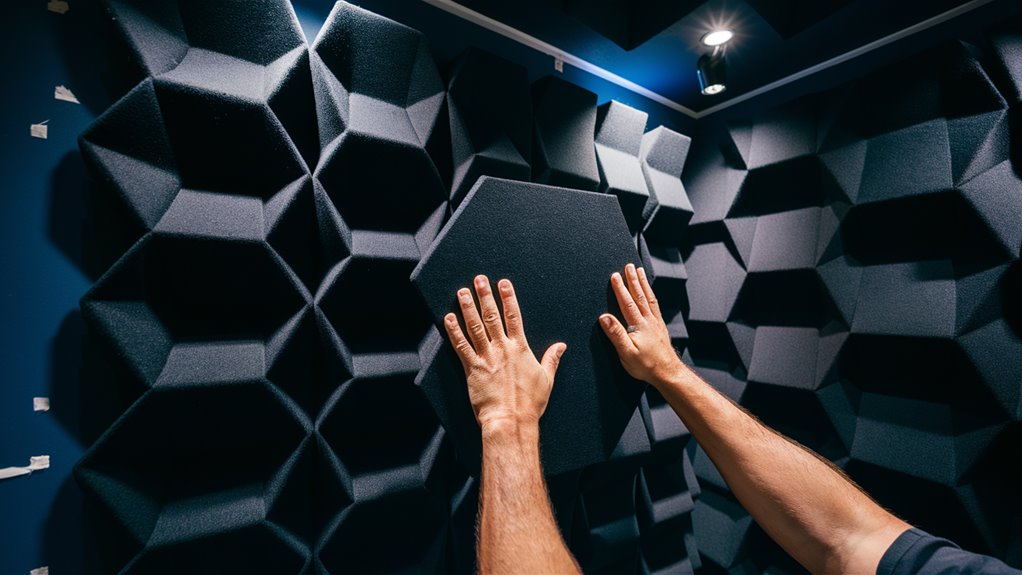
Professional hanging methods require precise sizing and specialized tools to ensure optimal panel performance.
The top three installation methods include Z-clips, sharp clips, and strong adhesive, selected based on wall type and panel weight.
For panels weighing under 20 pounds, Z-clip assemblies provide superior security and edge adjustments.
Using Glue Right
Proper adhesive use requires 4 square inches of coverage per pound of panel weight.
Hanging point spacing should be 16-24 inches apart for even weight distribution.
Ceiling installations require durable cable systems with a 4:1 safety ratio and turnbuckles for precise height adjustments.
Best Install Practices
Wall preparation begins with locating supports and marking them with lasers for precise alignment.
Tool load capacity should be 300% greater than panel weight for safety.
Removable installations use French cleats with 45-degree edges for robust hanging and easy future adjustments.
Maintain a gap of 1-2 inches between panels for optimal sound absorption and aesthetics.
Room Size and What You Need
Figuring Out Room Size and Sound Needs
What You Need for Coverage
Sound coverage should aim for 20-25% of total wall area for effective acoustic treatment.
Professional-grade acoustics require 30-35% coverage.
Wall Area Math
Calculating total wall area involves:
- Length x Height (two walls)
- Width x Height (two walls)
- Add both calculations
Normal Room Needs
For a 12′ x 15′ karaoke room with 8′ ceilings:
- Total wall area: 432 square feet
- Basic treatment: 86-108 square feet of acoustic panels
- First reflection points: Determined at 45-degree angles from the singer’s position
- Ceiling coverage: 15-20% over the singing area
Managing Bass
Corner specifications include:
- 8-12 square feet per corner
- Floor-to-ceiling bass traps
- Vertical corner placement
- Focus on low-frequency absorption
Pro Coverage Tips
- Side wall setup: Target early reflection points
- Back wall: Aim for sound dispersion
- Ceiling configuration: Optimize panel placement over the performance area
- Bass trap installation: Incorporate in all vertical corners
Keep Panels Working and Sound Top Notch
Keeping Panels and Sound in Top Shape
Key Upkeep Steps
Regular maintenance ensures peak panel performance in karaoke venues.
Conduct monthly inspections for dust, fabric wear, and installation issues that may affect performance.
Utilize a gentle vacuum with a https://getwakefield.com/ soft brush to clean dust without damaging the panels.
Pro Sound Checks
Implement sound checks periodically using high-quality audio equipment:
- Decibel measurements
- Sound range evaluations (125Hz-4kHz)
- Focus on vocal frequencies (500Hz-2kHz)
- Assess room acoustics from various positions
Tracking How Panels Work
Maintain detailed sound test records noting:
- Reverb times
- Sound range outcomes
- Panel efficiency
- Room conditions
Keeping Panels Good for Long
Monitor humidity levels between 30-50% for optimal sound absorption.
Regularly evaluate panel performance over time, planning replacements every 5-7 years to ensure consistent room acoustics.
Routine inspections of material condition help maintain stable sound quality throughout the panels’ lifespan.